



About Hyper Tunnel
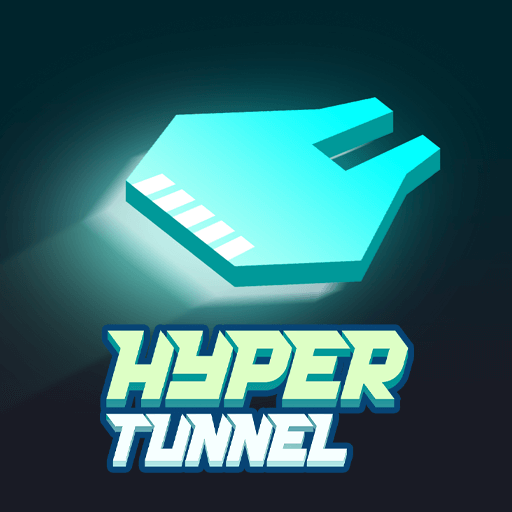
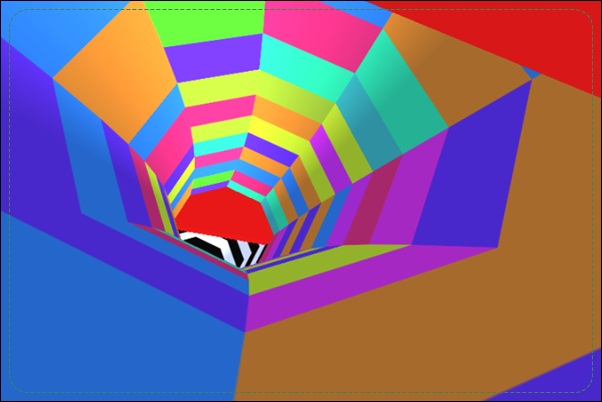
The useful question in Hyper Tunnel is not always whether to go left or right. Vertical steering also matters, giving you a wider choice of routes through a confined, fast-moving space. You pilot a craft toward openings between walls and obstacles while the forward journey keeps bringing those decisions closer.
A successful passage depends on both axes. Moving sideways can leave the craft at the wrong height, while an upward correction can carry it toward another obstruction. The best route is therefore a connected sequence of positions rather than a string of emergency turns. Read the shape of the next opening, settle the approach early, and keep enough room to adjust when the tunnel introduces a moving barrier.
How to Play Hyper Tunnel
Use WASD or the arrow keys to move up, down, left, and right through the tunnel. Avoid walls and barriers by aligning with clear openings, taking both height and horizontal position into account.
- Begin the flight and establish the response of the four directional inputs.
- Identify a gap and compare its height and lateral position with the craft.
- Align before reaching it, allowing for any visible obstacle movement.
- Continue into the next passage or retry after a collision ends the attempt.
Controls & Timing
Height and sideways position work together
An opening can be clear horizontally yet still require an upward or downward adjustment. Check both coordinates before entering it. Solving only one part of the alignment leaves the craft exposed to the other boundary.
Moving barriers change the available route
The visible gap may shift while you approach. Follow its motion and choose a route that remains usable at arrival. A position that is open now is not automatically the correct destination a moment later.
Forward motion limits correction time
The tunnel continues approaching while you steer. Make the main route decision at a readable distance, then use the remaining space for smaller corrections. Late changes leave less opportunity to repair an overshoot.
Controls
| Input | Action | When to use |
|---|---|---|
| W / Up Arrow | Move up | Reach a higher opening |
| S / Down Arrow | Move down | Pass beneath an obstruction |
| A / Left Arrow | Move left | Align with a left-side passage |
| D / Right Arrow | Move right | Align with a right-side passage |
High Score Tips
- Check the unused direction. If a sideways route looks closed, inspect the available height before committing to a risky crossing. Four-direction movement can offer an alternative that a left-right habit overlooks.
- Read the gap as an area. Aim to place the craft within the usable space, not merely past the nearest edge. A little clearance gives later movement more room without requiring a perfect border-hugging approach.
- Track the barrier before choosing a line. For a moving obstruction, observe which part is opening and which is closing. The intended arrival position matters more than the gap’s appearance at the first glance.
- Keep the next opening in the plan. After selecting the current passage, check where it leaves the craft. A route that clears one wall but demands an immediate full-width correction may be less reliable than another available line.
Key Features
- Four-direction steering. Vertical movement complements left-right positioning.
- Confined flight passages. Walls and gaps define the available route.
- Moving obstacles. Some openings require a prediction about arrival timing.
- Fast visual decisions. Forward motion makes early alignment valuable.
Frequently Asked Questions
Can I move up and down?
Yes. Use W or Up Arrow to move upward and S or Down Arrow to move downward. Include height in the approach instead of treating every obstacle as a left-right choice.
Why do I hit a wall after moving sideways?
The craft may still be at the wrong height for the opening. Check its complete position relative to the gap, including the upper and lower edges, before entering the passage.
How do I judge a moving barrier?
Watch its direction of travel and consider where the opening will be when you arrive. Steering toward its earlier position can fail even if that space looked clear when you started moving.
Should I make a large correction near a gap?
Only when the route requires it. Earlier alignment leaves room for a smaller final adjustment, whereas a late sweeping movement can carry the craft through the edge of the opening.
Does this guide assume a fixed number of levels?
No. Source pages describe the progression differently, so a particular level total is not promised here. The guidance covers the documented directional steering and obstacle avoidance of the browser game.