






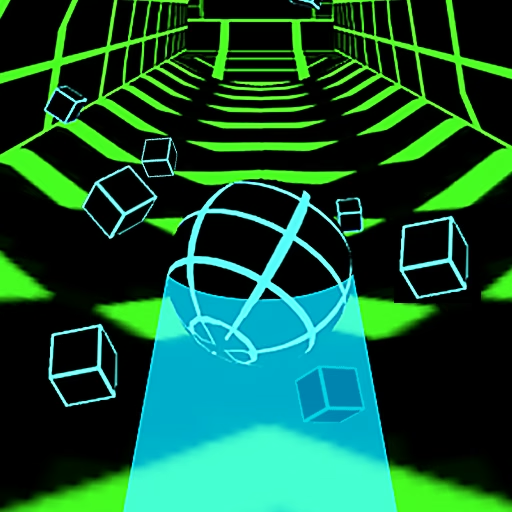


About Slope 3
Slope 3 places an automatically rolling ball on a course of slopes, obstacles, sharp turns, and narrowing platforms. Tunnel sections can limit how early you see the continuation, making the transition back into open space an important moment. You control the ball’s line with left and right steering while the forward pace keeps the route arriving.
The referenced version emphasizes survival without a power-up system to repair a poor approach. An unobstructed stretch is an opportunity to prepare your position for what comes next. Staying alive therefore involves more than avoiding the nearest object: it means leaving the ball somewhere useful when the view, road width, or direction changes.
How to Play Slope 3
Steer left and right with the arrow keys or A and D. Keep the ball on the available slopes, avoid obstacles, and prepare for the next platform as you leave tunnels or cross ramps.
- Follow the opening route and identify its usable width.
- Read the continuation as soon as it becomes visible beyond a tunnel or rise.
- Adjust before entering a narrow platform, then minimize unnecessary movement.
- Continue until a crash or fall ends the attempt and review the difficult transition.
Controls & Timing
A tunnel exit changes the information
The next section can become clearer only as the ball approaches the opening. Maintain a manageable position through the tunnel so the newly visible route does not require a huge correction. Start reading outward before the ball has fully exited.
Position carries across a ramp
An approach affects where the ball meets the next surface. Check the landing space rather than focusing entirely on the ramp beneath you. A small earlier adjustment can be more useful than a large movement after the transition.
Controls
| Input | Action | When to use |
|---|---|---|
| Left Arrow / A | Steer left | Follow a turn or line up the next platform |
| Right Arrow / D | Steer right | Follow a turn or line up the next platform |
High Score Tips
- Use open stretches to prepare. When no obstacle demands an immediate dodge, choose a line with room to respond. Leaving preparation until the next narrow section makes the same adjustment harder.
- Look past a tunnel opening. Search for the platform that receives the ball, not just the bright edge of the exit. This helps you recognize a turn before committing to a straight continuation.
- Reduce steering after alignment. Once a narrow platform is directly ahead, additional movement can take you away from it. Allow a correct approach to do its work instead of making a habitual extra correction.
- Identify the transition that broke control. Review whether the failure followed a tunnel, ramp, or sharp turn. Practicing the corresponding approach gives you a more specific target than simply trying to last longer.
Key Features
- Tunnel-to-slope transitions. Changes in visibility make early route recognition valuable.
- Narrow platforms. Safe approaches leave little room for exaggerated corrections.
- Increasing pace. Longer runs reduce the time available to organize each movement.
- Direct survival challenge. The referenced version relies on steering rather than support power-ups.
Frequently Asked Questions
Does this version have power-ups?
The referenced AZGames description specifies a run without power-ups or support items. Plan around steering and route preparation rather than expecting an item to cancel a collision or rescue a fall.
What should I watch near a tunnel exit?
Find the next usable platform as soon as the opening reveals it. Keeping the ball in a manageable position beforehand leaves more room to respond to a turn or narrow landing.
Do I control the forward movement?
The ball advances automatically. Left and right inputs change its line, so the practical task is to prepare for the pace of the course rather than hold a forward key.
Why do narrow sections punish extra steering?
They provide less lateral room. Once the ball is aligned, an unnecessary correction can move it beyond the supporting surface before there is enough time to bring it back.
Is surviving one ramp enough to call the approach successful?
Check where the ball reaches the next platform as well. A ramp approach is useful when its exit leaves you able to handle the following hazard, not merely clear the initial rise.